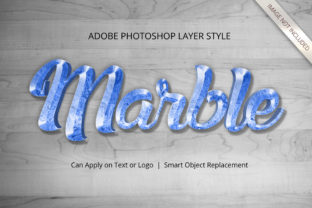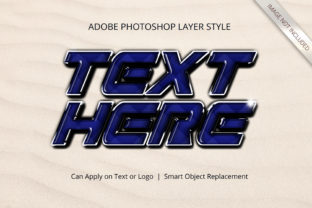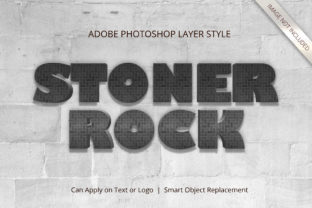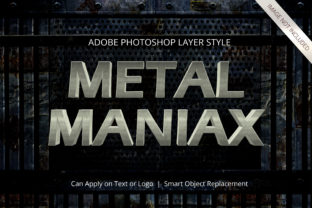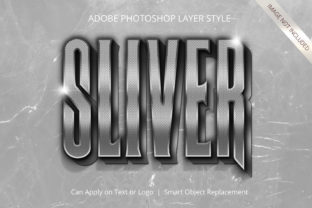
Photoshop Metallic Chrome Layer Style for 3D Text
Transforming flat text into a stunning Photoshop Metallic Chrome Layer Style has traditionally been the domain of expert designers who spent hours tweaking gradient maps, blending modes, and complex layer effects. However, the landscape of digital design has shifted dramatically. Today, achieving a high-quality, realistic 3D metallic finish is no longer about mastering difficult techniques; it is about leveraging the power of smart objects to automate the heavy lifting.
This approach democratizes professional-grade aesthetics. Whether you are a solo entrepreneur launching a new brand or a seasoned marketing director preparing a campaign, the ability to instantly render text with depth, reflection, and physical realism opens new avenues for visual storytelling. The core concept relies on a sophisticated template that handles the perspective, lighting, and shadow calculations automatically, allowing you to focus entirely on your content rather than the technical execution of the effect.
Why This Matters Across Different Creative Roles
The value of a robust 3D text tool extends far beyond simple decoration. For different professionals, the priority shifts depending on their specific goals and constraints. Understanding these nuances helps determine if this resource aligns with your workflow.
For Beginners and Hobbyists
If you are just starting your journey in graphic design, the learning curve associated with manual 3D rendering can be discouraging. You might spend days trying to get the highlights right, only to end up with an unnatural look. With this Photoshop Metallic Chrome Layer Style, the barrier to entry disappears. There is no requirement of skills to transform your design into 3D because everything works just with a smart object. You simply drop your text or logo in, and the software handles the physics of light and reflection. This allows novices to produce results that look like they were created by a senior designer, boosting confidence and encouraging further experimentation.
For Freelancers and Small Business Owners
Time is currency. When working as a freelancer or running a small business, you often need to deliver high-impact assets quickly without compromising on quality. A slow, manual process means fewer billable hours or delayed launches. This tool offers 100 Editable flexibility with a workflow designed for speed. The ability to change the design in seconds ensures that you can iterate through client feedback rapidly. Instead of getting bogged down in technical details, you can focus on the strategy behind the design, ensuring your message resonates while the visuals speak for themselves.
For Marketers and Content Creators
In the crowded digital space, grabbing attention is paramount. Standard flat typography often gets lost in a feed of images. A 3D Effect Style creates a tactile presence that draws the eye. For marketers, this means higher engagement rates and better recall for branding elements. The versatility of the tool makes it suitable for many styles, from sleek tech product launches to bold fashion campaigns. Because the output is High Resolution at 300 DPI, these assets remain crisp whether viewed on a mobile screen or printed on large-format banners.
How It Works: Simplicity Meets Sophistication
The magic behind this system lies in its organization. The file is structured with Well Organized Layers, making it easy to navigate even for those who aren't Photoshop wizards. The entire process is built around the concept of Smart Object Replacement, which acts as a bridge between your creative input and the pre-calculated 3D environment.
To utilize this powerful feature, the workflow is straightforward:
- Step 1: Open the Template. Locate the template file inside the designated folder. This ensures you are working within the correct environment where all effects are already baked in.
- Step 2: Access the Smart Object. Double-click on the smart object thumbnail in your layer palette. This action opens the smart object in a new window, giving you access to its content without altering the main template's structure.
- Step 3: Place Your Art. Insert your artwork or text into this new window. Use the free transform command (CTRL + T or CMD + T) to size it exactly as needed. Once you are satisfied with the placement, save and close the smart object file.
Upon returning to the main template file, you will see your art adapting the correct perspective, highlights, and shadows immediately. It looks as if it was a real, physical incarnation of your project. If your template contains multiple art layers, such as a stack of posters or a series of social media cards, don't worry. The smart object will take care of that by duplicating the effect across all instances, maintaining consistency throughout your entire design suite.
Evaluating Quality and Flexibility
One of the primary concerns for any designer is the final output quality. This solution delivers High Resolution files that are ready for commercial use. The 300 DPI standard ensures that print materials, from business cards to billboards, retain their sharpness and detail. The metallic chrome effect is not a generic overlay; it reacts to the geometry of the text, creating realistic specular highlights and deep, rich shadows that mimic real metal surfaces.
Flexibility is another critical factor. While the preset style is impressive, the tool is Easy To Change. You are not locked into a single font or color scheme. You can swap out the text, change the shape, or replace the background image, and the 3D effect will recalculate instantly. This Very Versatile nature makes it suitable for many styles, including modern minimalism, luxury branding, and edgy streetwear aesthetics.
Priorities for Different Users
- Speed vs. Customization: Traditional methods offer infinite customization but require immense time. This tool prioritizes speed without sacrificing the appearance of custom work. It is ideal when deadlines are tight.
- Cost vs. Value: Hiring a 3D artist for every project is expensive. Using this template provides a cost-effective alternative that yields professional results, offering excellent long-term usefulness for businesses looking to scale their visual output.
- Learning Value: For beginners, using this tool serves as a learning opportunity. By observing how the smart object manipulates light and shadow, users can gain insights into 3D principles that they can apply to future manual projects.
Is This Right for Your Project?
Determining whether this Photoshop Metallic Chrome Layer Style fits your needs depends on your current skill level and project requirements. If you find yourself struggling with manual layer styles or spending too much time on 3D adjustments, this solution removes the friction from your design process. It is particularly beneficial for educators teaching design basics, as it allows students to focus on composition and typography rather than technical rendering.
Furthermore, for publishers and bloggers, the ability to create unique, eye-catching headers and featured images can significantly enhance the user experience on a website. The No Skill Requirement aspect ensures that anyone with basic Photoshop knowledge can achieve professional results. Whether you are creating a logo for a startup, designing a poster for an event, or updating a blog post, the consistent application of high-quality 3D effects adds a layer of polish that elevates the perceived value of your work.
In conclusion, the shift towards smart object-based workflows represents the future of accessible design. By combining advanced automation with user-friendly interfaces, tools like this empower creators to push their boundaries. You do not need to be a master of gradients or shadows to create a masterpiece. With Smart Object Replacement and a well-organized structure, you can transform your ideas into tangible, 3D realities with just a few clicks, ensuring your designs stand out in a competitive world.